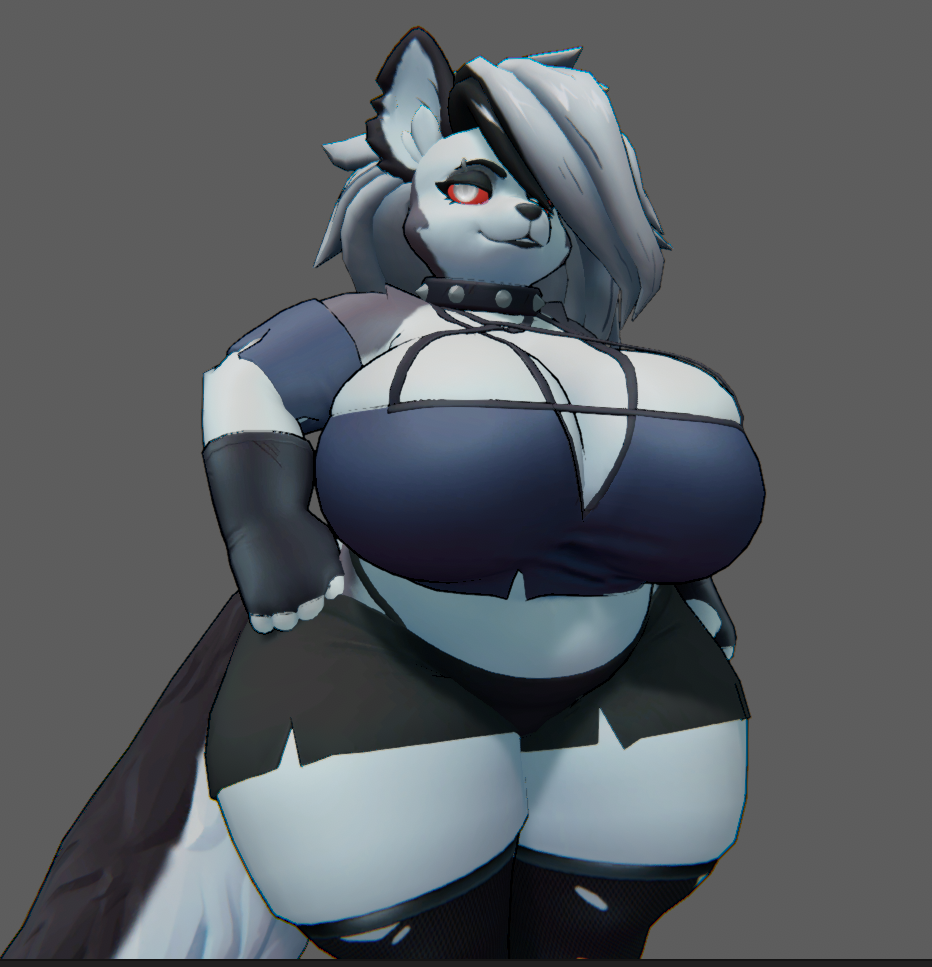
I'm just documenting stuff I've learned about making 3D Cuties in Blender here. Mostly a technical tutorial with some artistic info.
I find sculpting more intuitive (and enjoyable) than modeling, so we'll start there.
Block out general shape, refine in stages, retopo (optional if want to animate/rig), yea
dynotopo is good to add detail, but makes ur mesh ass. remember to mirror along X
Join meshes together, then in the top right of sculpt mode select Remesh and set the distance to 0.01m.
Brushes
These are the brushes I think are useful.
- Draw Sharp is really good for sharpening the transition between two parts (such as the underside of the nose and the lips - it's a semi-hard angle!).
- Blob
- Scrape/Fill
- Smooth
Retopo
If you want to use your model for anything besides a nice render (animation, game asset, etc), you have to optimize its topology. This means entirely remaking it (with your sculpture as a guide) using quads, paying attention to topology around joints and logically separate sections.
I kinda like plastic-y materials, but there is also painterly texturing + hand-drawn shadows (probably flat material), idk


src1 src2
Creating a Material
go to Shading workspace, we're gonna use the node editor
BSDF and texture and shading
roughness 0.3
UV Mapping and Texture Painting
Using Multiple Materials
You can assign multiple materials to different parts of the same model.
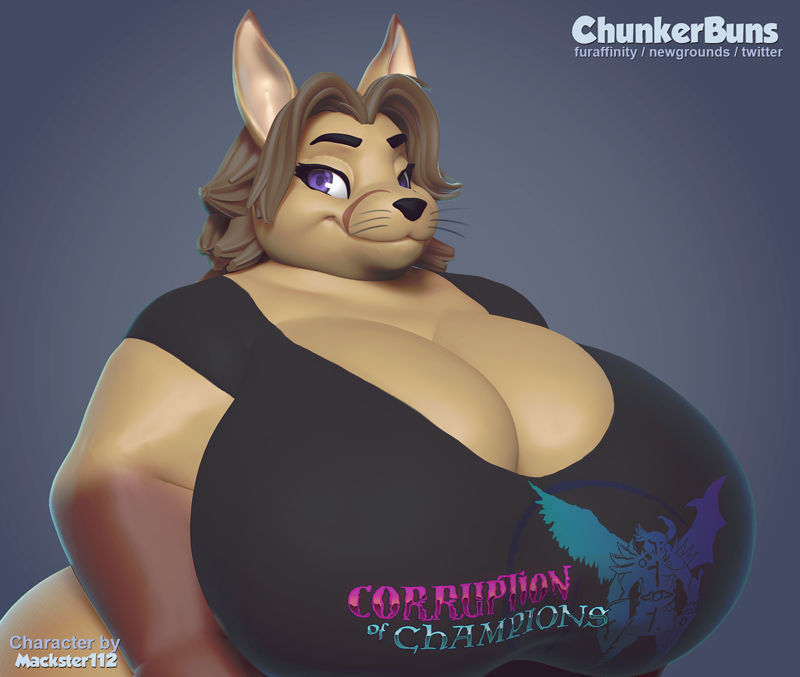
Rigging
I reckon that belly sway is actually hand animated instead of simulated, probably got bones in that belly
src
Keyframing
Blendshapes
Blendshapes are useful for growth/expansion sequences. They work well with softbodies (see: Procedural Animation).
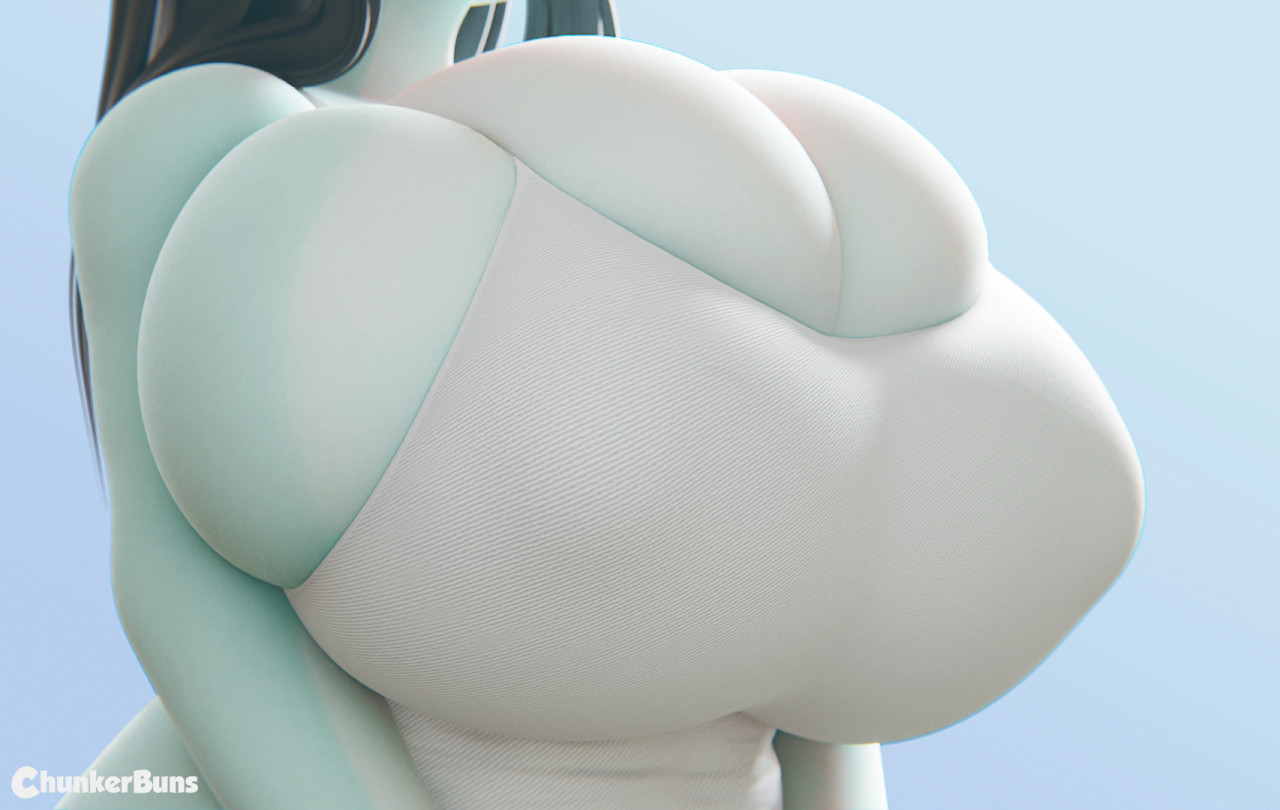
Softbodies
I highly recommend watching the entire video below for comprehensive explanations of the settings you'll be using.
To create the most basic softbody, all you need to do is:
1. Add a mesh for the floor with a collision modifier.
2. Add a model with a cloth modifier. Place this above your "floor." This modifier contains all the parameters you will use to refine your soft-body simulation.
3. Press space, or press the play button in the timeline. Your model should fall onto the floor and squish into it.
While this is a good place to start, you will need to tweak these settings to get better results on a case-by-case basis. Experiment with what looks good!
- If the mesh doesn't look very squishy, you might not have enough geometry for it to simulate with. Add a subdivision surface modifier, and place it before the cloth modifier.
- If the simulation looks too floaty, increase gravity in world settings (15~25).
- To change how much the model "sinks into" the ground once at rest, change the pressure. Higher values will "rest" on top of the floor without sinking into it.
Making some parts of the model fixed in place (Cloth pinning)
If you want some vertices to be fixed in place, you can pin them. They will stay locked in place while the non-pinned parts will behave like a soft-body.
- Select your object.
- Create a new vertex group under Data > Vertex Groups and clicking the + symbol. Rename it to "Pin", or anything else you'd like.
- Go into edit mode (by pressing tab), select the vertices you want to be pinned, and assign them to the vertex group you made by clicking Assign while the vertices are selected.
- Go to Physics > Shape (under cloth properties) and assign your new vertex group to Pin Group.
If you want to move/animate the pinned vertices, you can attach them to a hook.
https://www.youtube.com/watch?v=y_fysD5B9xsMoving/animating the hook will move the pinned vertices.